WIOTA 二次开发环境搭建
Windows 环境
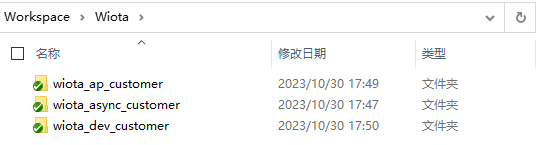
1. 准备工程代码
使用 git 工具 clone 项目工程代码,提供 github 和 gitee 仓库,国内推荐使用 gitee 仓库
基站侧代码
git clone https://github.com/ucchip/wiota_ap_customer.git
或者
git clone https://gitee.com/wiota/wiota_ap_customer.git
终端侧代码
git clone https://github.com/ucchip/wiota_dev_customer.git
或者
git clone https://gitee.com/wiota/wiota_dev_customer.git
异步节点代码
git clone https://github.com/ucchip/wiota_async_customer.git
或者
git clone https://gitee.com/wiota/wiota_async_customer.git
2. 准备编译工具
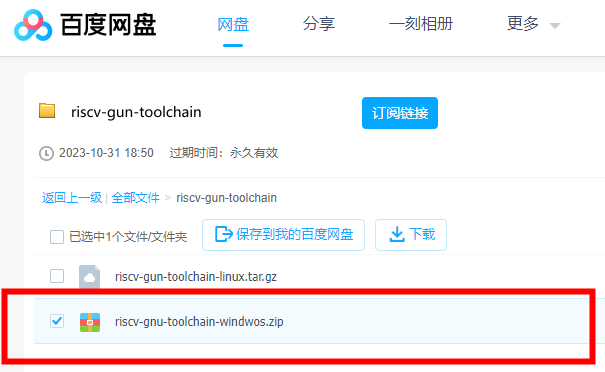
2.1 下载编译工具链
riscv-gun-toolchain 下载 包含 windows 与 linux 版本 (按住 ctrl + 鼠标左键单击转到链接)
本文档基于 windows 环境,请下载网盘中的 windows 版本
解压后如下所示,记录 bin 文件夹路径,后面搭建编译环境时需要

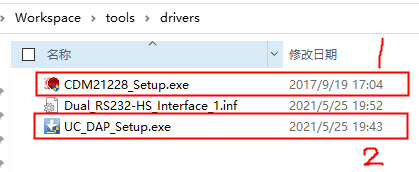
2.2 下载安装仿真器驱动
UC-DAP5 仿真器驱动下载 (按住 ctrl + 鼠标左键单击转到链接)
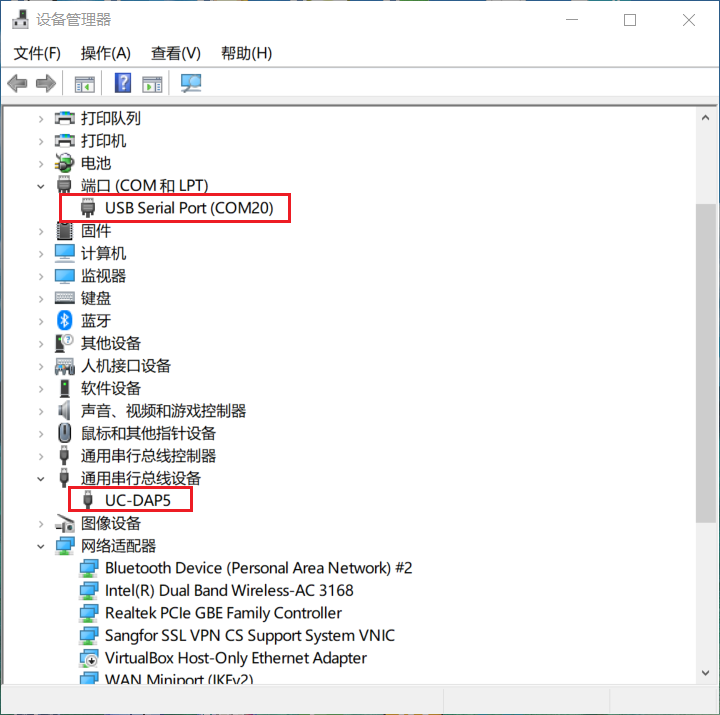
解压后如下所示,依次安装 CDM21228_Setup.exe 串口驱动,和 UC_DAP_Setup.exe 仿真器调式烧录口驱动,安装时请将仿真器插上电脑
安装成功后,在设备管理器中可以看见如下两个设备
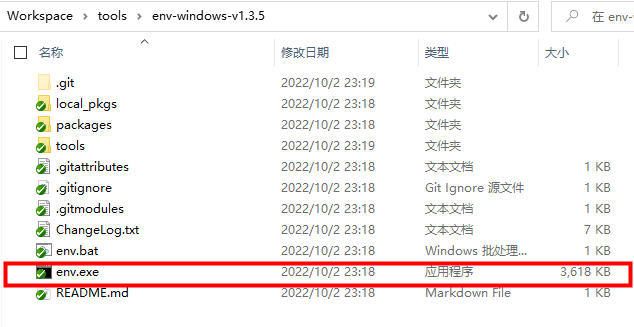
2.3 下载安装 rtthread env 工具
rtthread env 工具下载地址 (按住 ctrl + 鼠标左键单击转到链接)
解压后如下所示,鼠标左键双击 env.exe 运行
在 env 工具窗口抬头处点击鼠标右键,在右键菜单中点击 Settings...
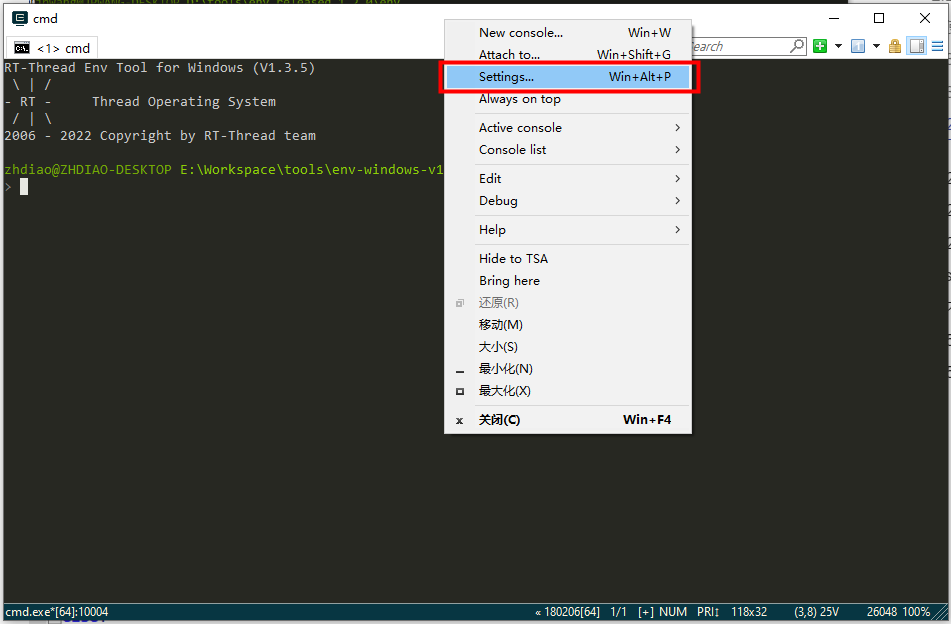
依次点击 Integration -> Register -> Save settings,将 env 工具注册到右键菜单中

之后就可以在任意文件夹中通过右键菜单快速打开 env 工具
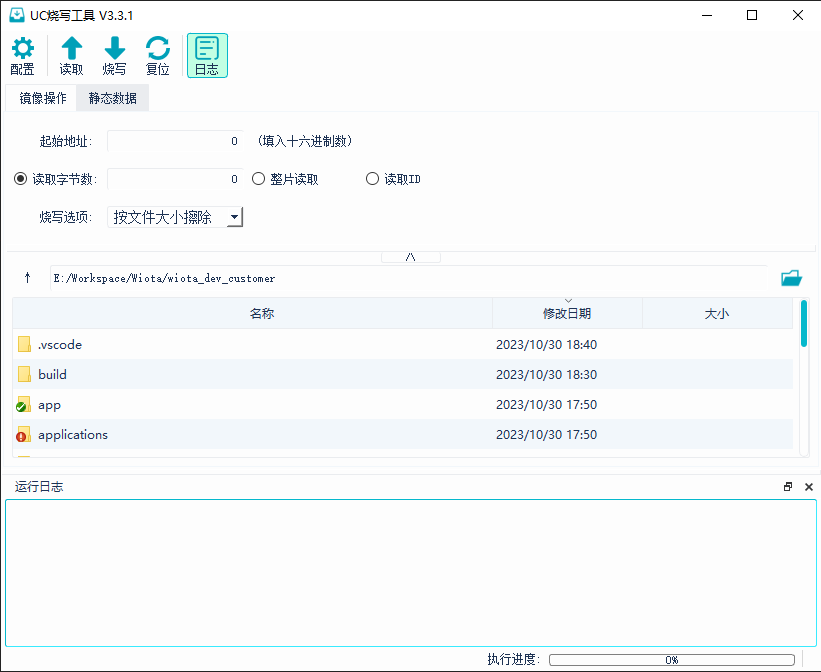
2.4 下载 UcProgrammer 烧录工具
WIoTa UC烧写工具 UcProgrammer ↓ 最新版本见底部 (按住 ctrl + 鼠标左键单击转到链接)
下载完成后解压如下所示
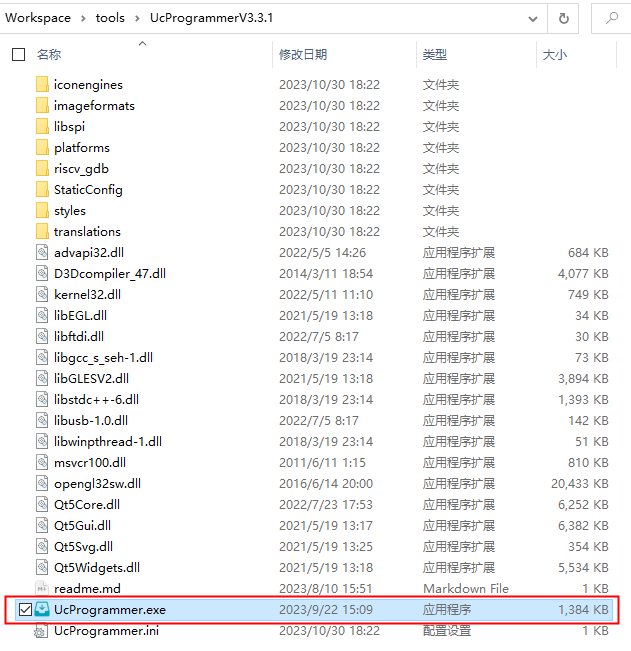
双击 UcProgrammer 运行 UcProgrammer详细使用说明链接 (按住 ctrl + 鼠标左键单击转到链接)
3. 配置编译环境
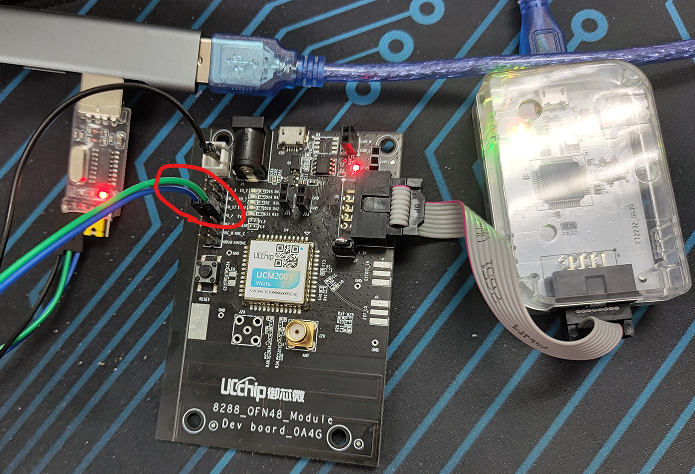
示例基于 IOTE 开发板 和 终端侧代码,
硬件清单如下:
-
IOTE 开发板(使用UCM200T模组)
-
UC-DAP5 烧录工具
-
CH340 usb转串口模块
-
杜邦线
开发板调式器按如下连线,红色圈出为使用到的 log 输出串口,接上 usb 转串口模块后再插入电脑
3.1 设置编译工具链路径
项目根目录下rtconfig.py文件为项目构建配置脚本,构建项目前需修改其中编译工具链路径。
找到前面下载的 riscv-gnu-toolchain 编译工具链 bin 文件夹路径
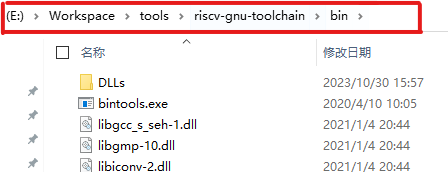
修改rtconfig.py中编译工具路径

4. 构建项目
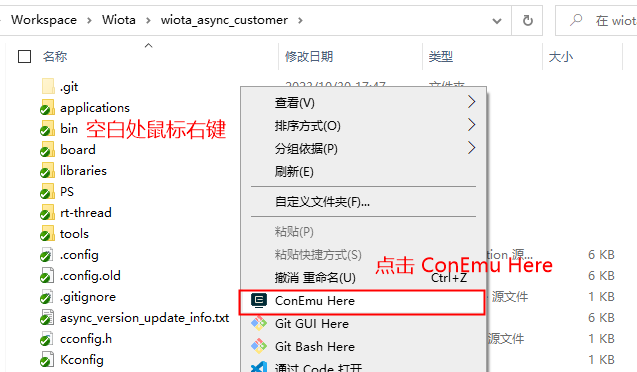
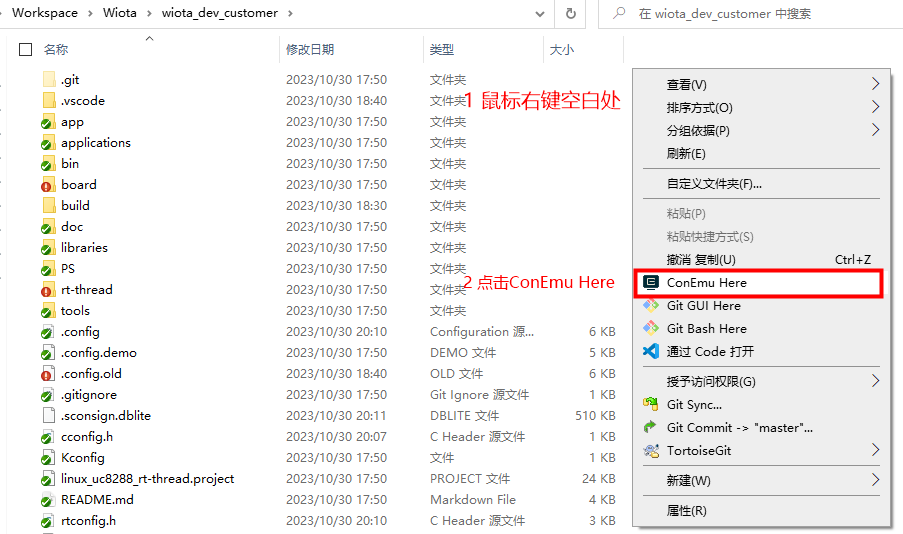
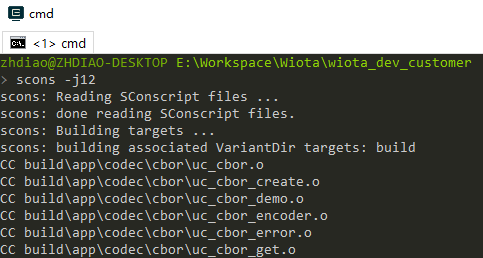
使用 RTthread env 工具构建项目,在项目根目录下鼠标右键空白处,点击右键菜单中的 ConEmu Here,打开 RTthread env 工具
在 env 环境中执行命令 scons -j12 (数字 12 表示多核编译,最大为电脑 cpu 核心数)
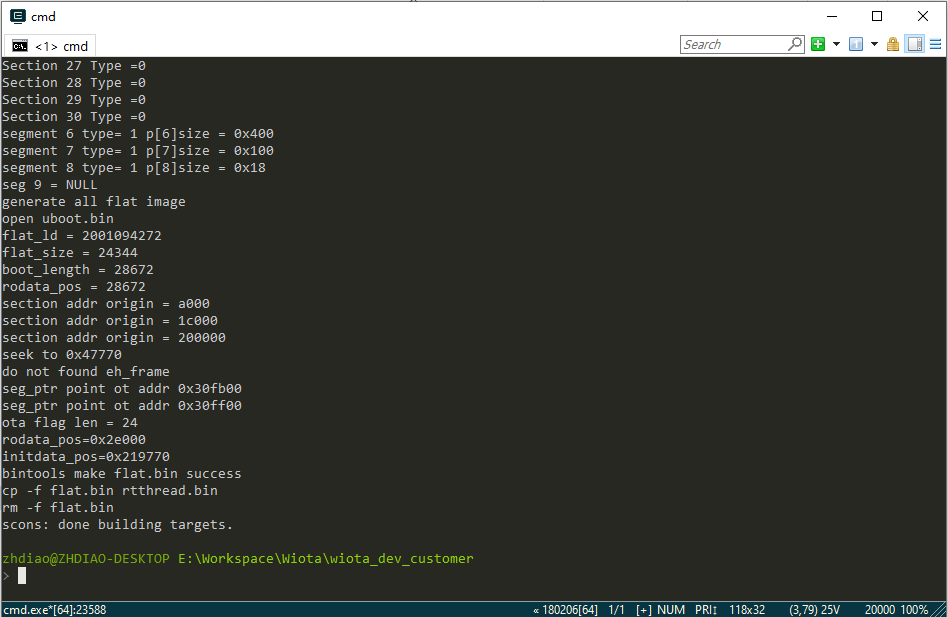
编译成功后,在项目根目录下会生成 rtthread.bin 下载使用二进制文件, rtthread.elf 调试使用二进制文件,rtthread.map 链接映射文件

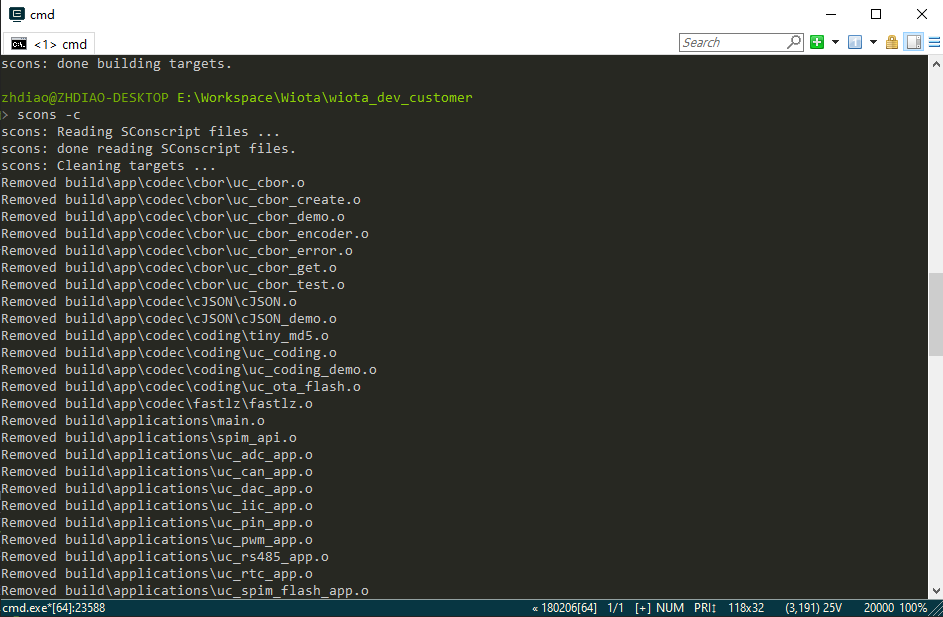
执行 scons -c 可清除编译内容
5. 下载运行
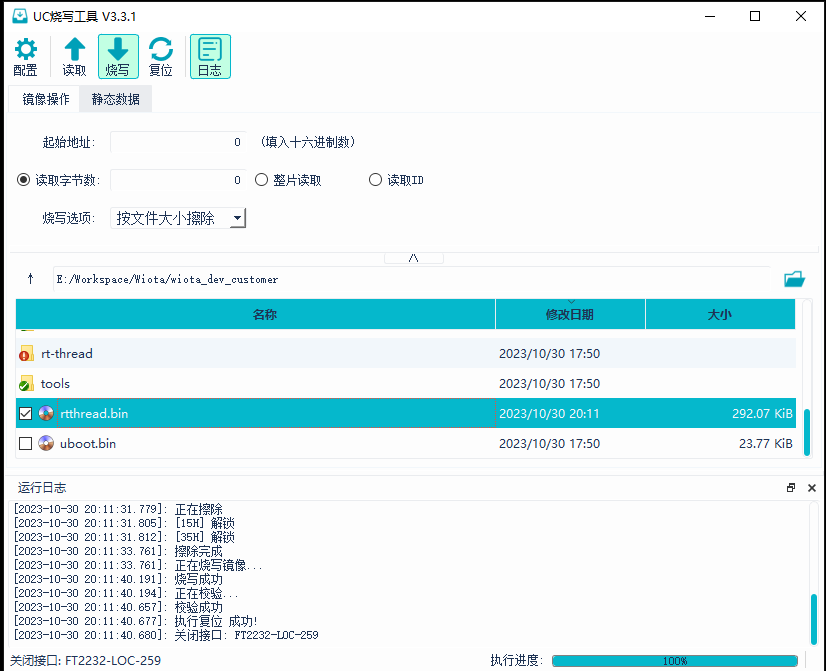
打开 UcProgrammer 下载工具,选中项目根目录文件夹,再选中 rtthread.bin 文件
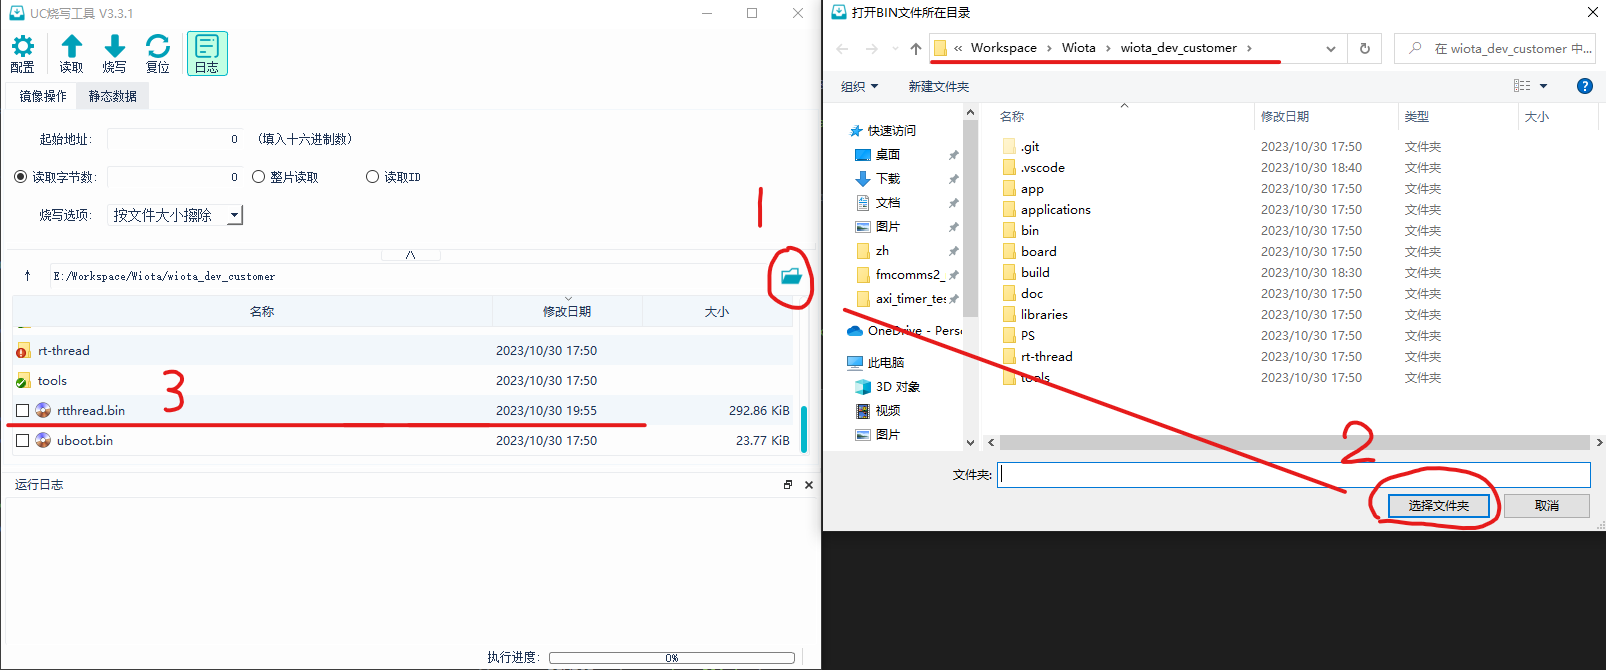
点击烧写,等待烧写完成后,开发板会自动运行
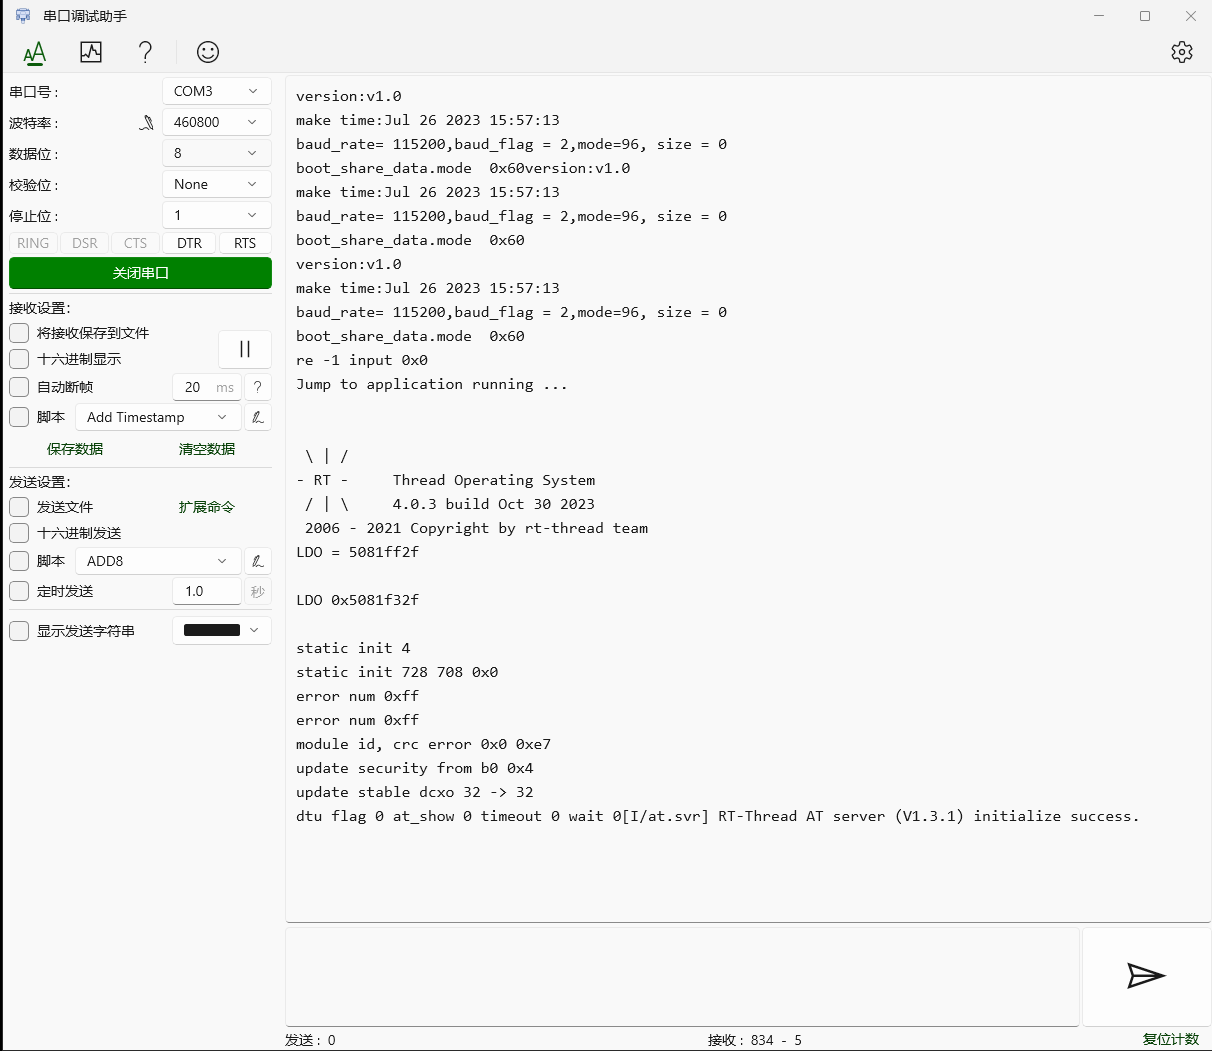
观察 log 串口输出,log 串口配置如下
- 波特率:460800
- 数据位:8
- 校验位:none
- 停止位:1
6. 添加用户模块
在这里我们添加一个打印 hello wiota 的模块为例。
6.1 新增文件夹及源文件
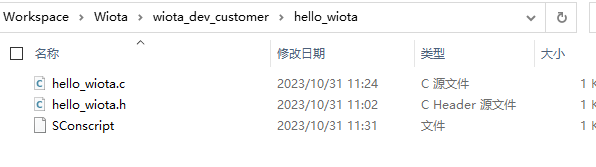
首先,在项目根目录下新建一个文件夹命名为 hello_wiota ( 可任意命名 )

再在 hello_wiota 文件中新建我们的源文件 hello_wiota.c hello_wiota.h 内容如下
hello_wiota.c
#include <rtthread.h>
#include "hello_wiota.h"

int print_hello(void)
{
    rt_kprintf("hello wiota\n");

    return 0;
}
hello_wiota.h
#ifndef __HELLO_WIOTA_H__
#define __HELLO_WIOTA_H__

int print_hello(void);

#endif // __HELLO_WIOTA_H__
6.2 调用 hello wiota 模块
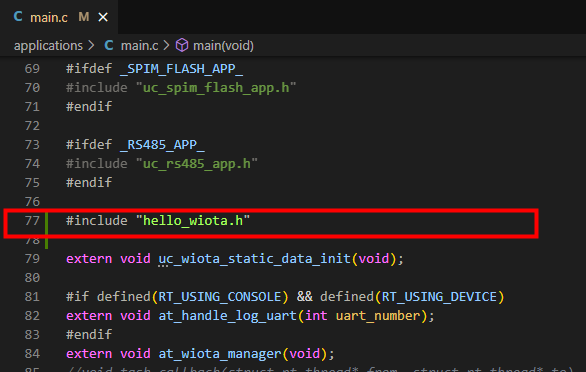
在 wiota_dev_customer/applications/main.c 中调用我们的 hello_wiota 模块
包含头文件
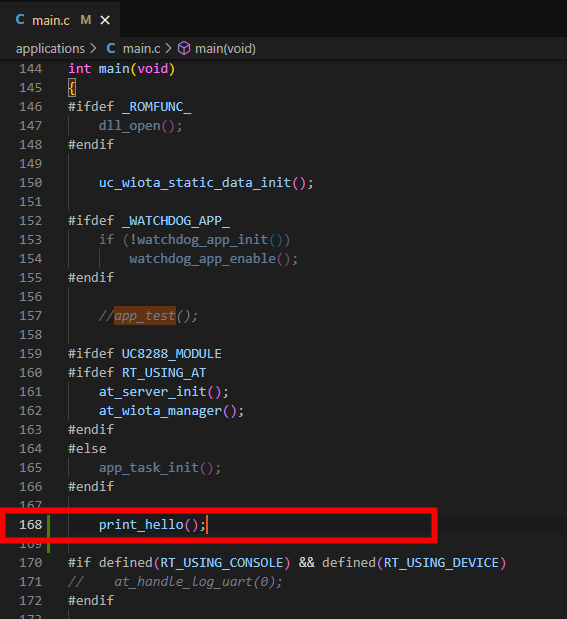
在mian函数中调用 print_hello 函数
6.3 添加编译脚本
然后还要在hello_wiota文件夹下添加编译脚本将新增的源文件加入构建目标,新建一个文件名为 SConscript 的文件,文件内容如下
from building import *

cwd          = GetCurrentDir()   # 获取当前脚本路径
include_path = [cwd]             # 将当前路径加入构建搜索的头文件路径
src          = Split('''
hello_wiota.c
''')                             # 源文件
# 也可等效成 src = ['hello_wiota.c'] 或 src= Glob('*.c')

# 使用DefineGroup创建一个名为hello_wiota的组
# 该Group是否被添加到工程中,参与编译,取决于depend的宏是否在Kconfig中被使能。为空则不依赖宏
group = DefineGroup('hello_wiota', src, depend = [''], CPPPATH = include_path)

Return('group')                  # 将当前脚本指定的构建对象返回上级SCons脚本
总共新增了三个文件,SConscript 是编译脚本
6.4 编译下载
同样,在项目根目录下打开 rtthread env 工具,输入命令 scons -j12 编译,使用 UcProgrammer 工具烧录下载,最后观察串口助手输出如下图,成功打印出 hello wiota
